As much as I enjoy baking cakes and pies, muffins and cookies, I'd have to say bread is my favorite thing to make. It's like magic! You throw together a few simple ingredients, leave it alone for a time, and voilá, your mixing bowl is overflowing with that wonderfully smelling dough! You really can't go wrong with it. I always tell my kids one of the keys is to make sure your water is hot enough (when you're using active dry yeast). You don't want it so hot that it will kill the yeast, but it should feel quite hot to your finger. When I make bread for the day, I let dough rise in the oven with the light on. For my baguette, I usually make it the night ahead and let it rise slowly in our cool basement. The flavor is so much better this way! Recently on a rather long car trip, I did some research on ways of freezing bread dough. I figured, if you can get this stuff at the store, it can't be that hard to do. Bread doesn't last long around here, so I thought it would be great to try to have the dough on hand in the freezer. Well, after coming across some helpful tips, I thought I'd give it a whirl, fully expecting it would kill the yeast and be a flop! I made this simple, but delicious white bread below. It's from the King Arthur Flour Baker's Companion, which I highly recommend! I made the recipe as directed, only froze it in a bread pan after the first rise. I covered it tightly with plastic wrap and then a layer of heavy duty foil. I took it out about a week later, then let it rise in the pan as long as it needed to.

I could not believe how beautiful it came out! I have to say, I'm quite impressed with these new pans from King Arthur also! And no, I'm not getting paid to advertise for them. :) I just love recommending a good product when I see one.....and I have tried a few different bread pans. I've done side by side "tests" between my KAF/USA pans and others that will remain nameless and the bread easily slips right out of these! I'm sold! I've been slowly trying to weed out my 20-year-old cheap pans and replace them with these. I'm one of those weird women who would love a bread pan just as much as jewelry! :) (I said just as much, not more, honey!)

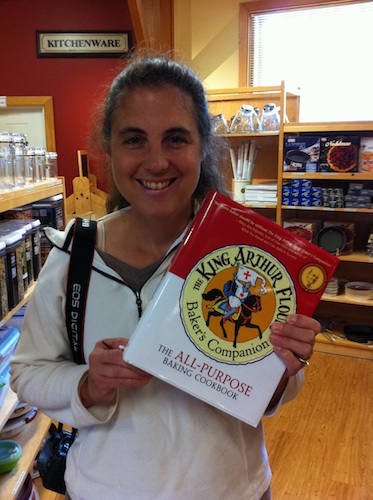 |
| Exciting day! Visiting the King Arthur Flour store in Vermont |
3 cups unbleached all-purpose flour
2 teaspoons instant yeast
1-1/4 teaspoons salt
3 tablespoons sugar
4 tablespoons butter
 |
| Waiting is the hardest part... |
1/4 cup nonfat dry milk
1/4 potato flour, or 1/3 cup potato flakes
1-1/8 cups lukewarm water
 |
| Ready to go! |
 |
| A perfect loaf! |

No comments:
Post a Comment
Thank you for visiting Cooking with the Cooks! We value your comments as we are constantly updating and improving our site. To make a public comment which, after approved may be open to the web, click "Post Comment". To make a private comment, suggestion, or a "Site Eyes*" comment, please click here to contact us. Thank You!
* We try to make sure all content is correct, but if you see an error, please let us know so we can fix it. Thank You.